How to Resize a Photo to an Exact KB Size
Visa, exam, and job portals often cap photos at a strict KB limit. Here's how to hit that target reliably, from the fastest one-click tool to doing it by hand.
You've got a photo that needs to be under 200 KB for a visa application, or between 20 and 50 KB for a government exam form, and your phone photo is sitting at 3.8 MB. Most photo tools let you pick a quality level or a pixel size, but almost none of them let you just type "50 KB" and get exactly that. Here's how to actually land inside a KB limit without guessing for twenty minutes.
Why Forms Ask for an Exact File Size
A JPEG's file size comes from how much the compression algorithm throws away, not from its pixel dimensions directly (though dimensions matter too, since more pixels mean more data to compress). Government and university portals set tight KB limits because their systems store thousands of these photos and need predictable file sizes, not because there's anything technically special about, say, 50 KB versus 51 KB. Most portals actually enforce a range (a minimum and a maximum), not one exact number, so "resize to exactly 50 KB" almost always really means "land somewhere between 20 KB and 50 KB."
Fastest Fix: A Dedicated "Compress to KB" Tool
If you just need this done once and don't care how, the quickest route is a tool built specifically for this job: you type a number, it hands back a file close to that number. Two free ones actually do this well.
Passport Photo Snap's Compress Image to KB tool
- Go to passportphotosnap.com and open the Compress Image to KB tool.
- Upload your photo. It accepts JPEG, PNG, or WebP.
- Pick a preset target size, common ones are 240 KB (US DS-160), 120 KB (several EU visa services), 100 KB, 50 KB, or 20 KB (common on Indian government forms), or type your own custom number if your form's limit falls somewhere else.
- Run the compression. It's not just one quality pass. The tool runs a binary search: it tries a quality level, checks how big the result is, and keeps adjusting up or down until it lands under your target. If your target is very small, like 20 KB, and quality reduction alone can't reach it, it'll shrink the pixel dimensions too.
- Download the result, then open its properties in File Explorer or Finder and confirm the actual size matches before you upload it to the actual form.
Imagera's Compress Image tool
- Go to imagera.ai and open the free Compress Image tool.
- Pick a JPG, PNG, or WebP photo from your device (on a phone, this also accepts HEIC straight from the camera roll).
- Type the exact size you want into the target field, for example 100 KB.
- Choose your output format. JPG is the safest default for a photo like this.
- Run it. The tool trims the photo to land as close to the number you typed as possible and downloads the result automatically.
- As with the step above, double check the downloaded file's real size afterward rather than trusting the on-screen number blindly.
Both skip the guesswork entirely. You type a number and get a file close to it back. What you're trading away is control over exactly how much quality gets sacrificed to hit that number, which is where doing it manually gives you more of a say.
AI Convertly doesn't have a one-click "target KB" mode yet, but its Image Compressor does the same underlying thing (quality-based compression, watching the resulting size) manually, which usually takes two or three tries and lets you see and control exactly how the photo looks at each step.
Get There Yourself With the Image Compressor
This is the more hands-on version of the same idea, and it works for JPG, PNG, and WebP source images (anything else gets converted to JPG automatically, since JPG compresses far better than PNG for photos).
- Open the Image Compressor tool.
- Drop your photo into the upload area, or click it to browse.
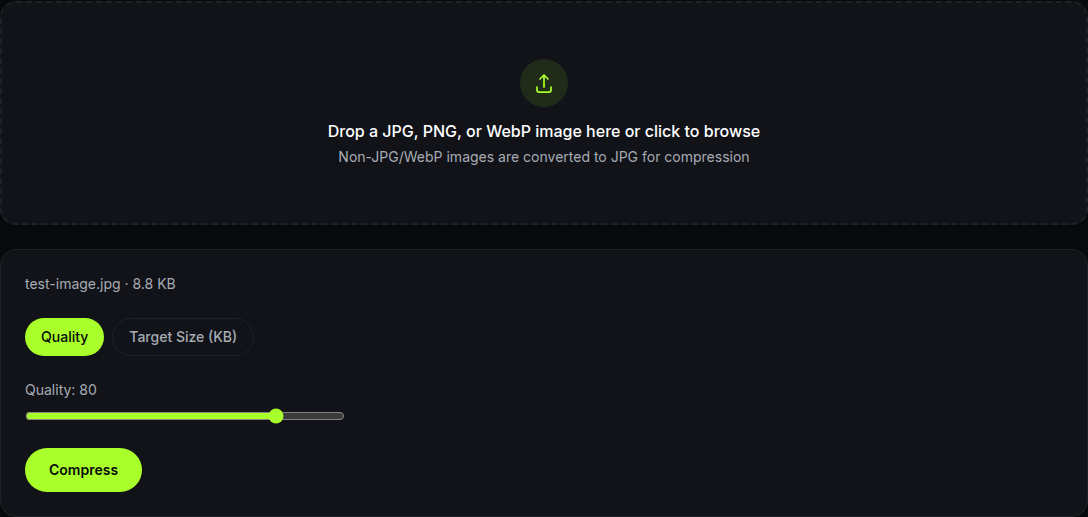
- Once it loads, you'll see the original file size printed under the filename, and a Quality slider running from 1 to 100.
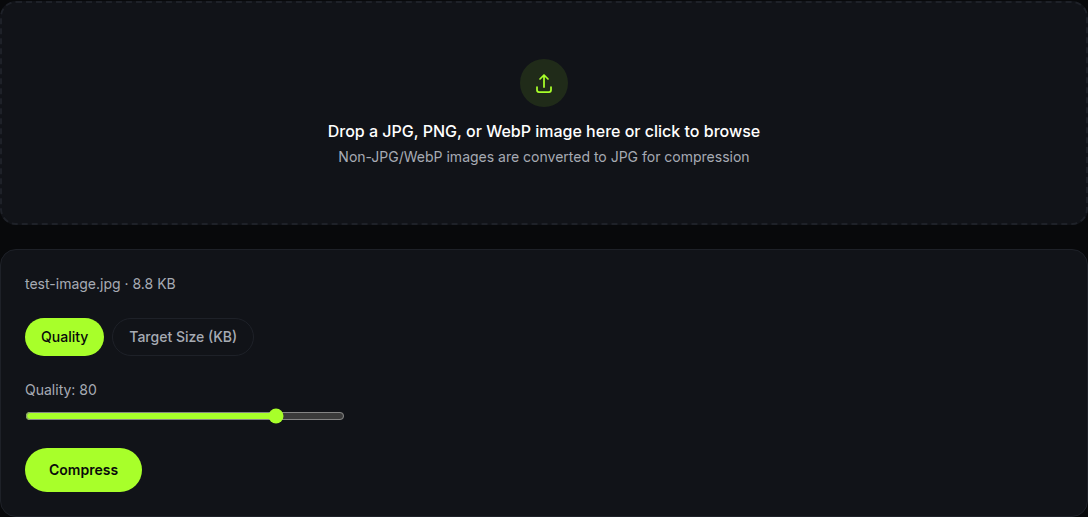
- Start around 70 for a first pass. That's a reasonable middle ground for most photos. Drag the slider to set it.
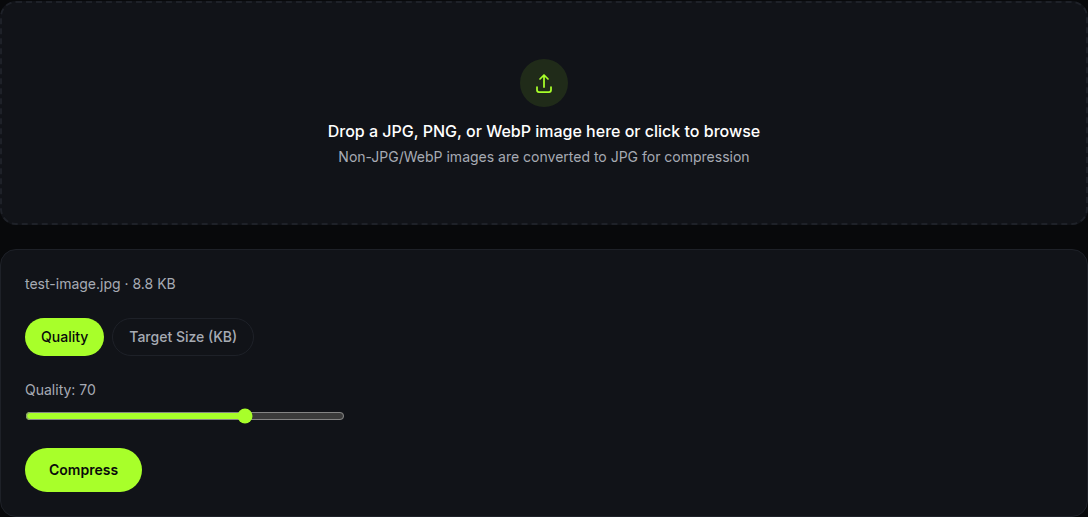
- Click Compress.
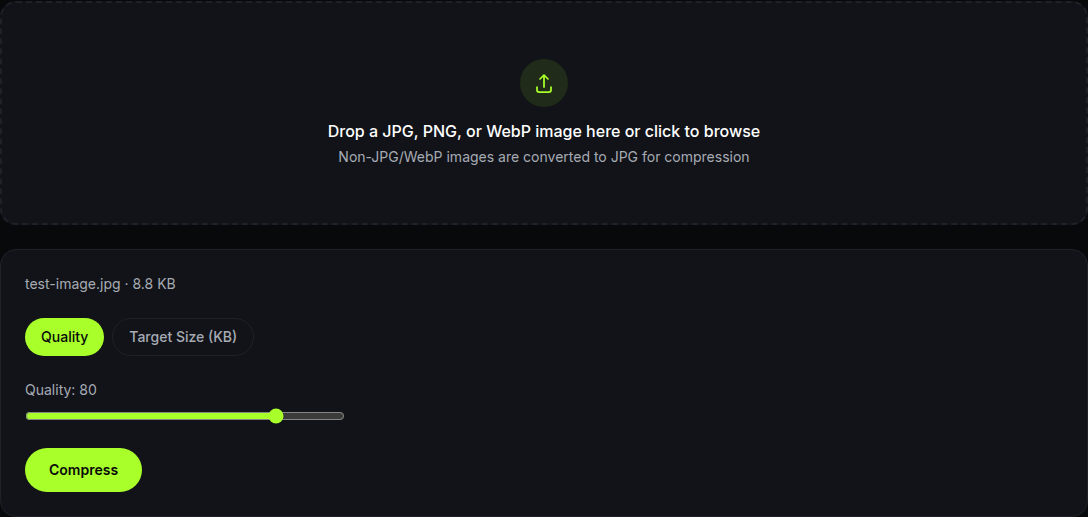
- Check the result. The tool shows you the before and after size side by side, plus the percentage saved.
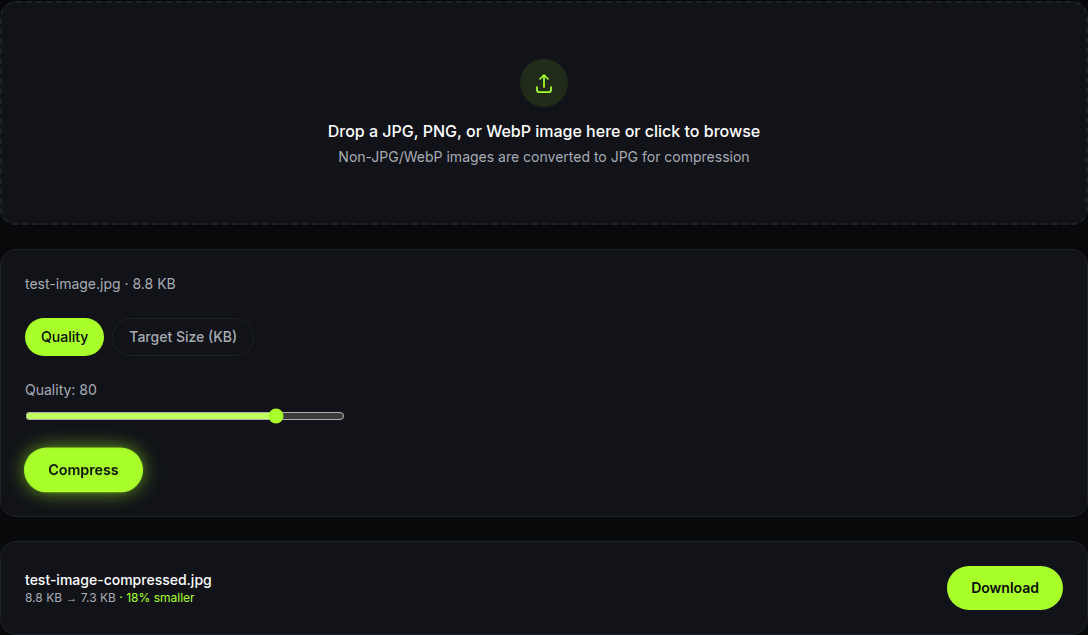
- If the compressed size is still above your limit, drag the slider lower (try dropping it by 15-20) and compress again.
- If it's well under your limit and the photo looks noticeably blocky or smeared, especially around text or fine detail, nudge the slider up a little. You have room.
- When the size fits your target, click Download.
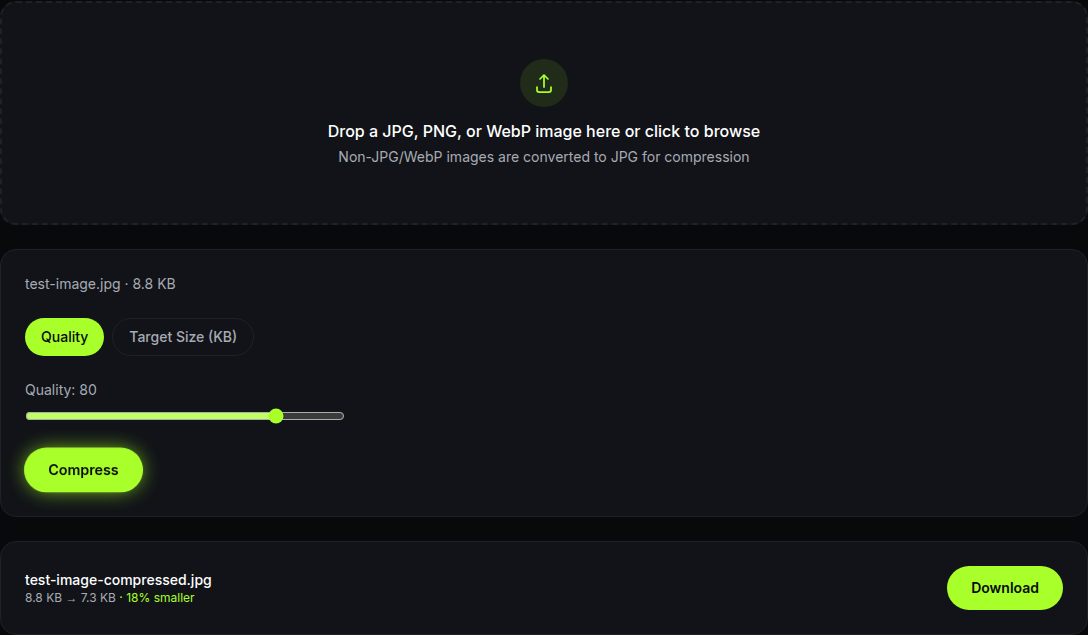
Three or four passes is normal. Quality and file size don't move together in a straight line. Going from 90 to 70 might barely change the size, while going from 40 to 20 can cut it dramatically, because JPEG compression gets much more aggressive at the low end.
When Quality Alone Won't Get You Low Enough
Very tight limits, like the 20 KB some Indian government exam forms require, sometimes can't be hit with quality reduction alone without turning the photo to visible mush. In that case, shrink the pixel dimensions first, then compress on top of that.
- Open the Image Resizer tool.
- Drop in your photo.
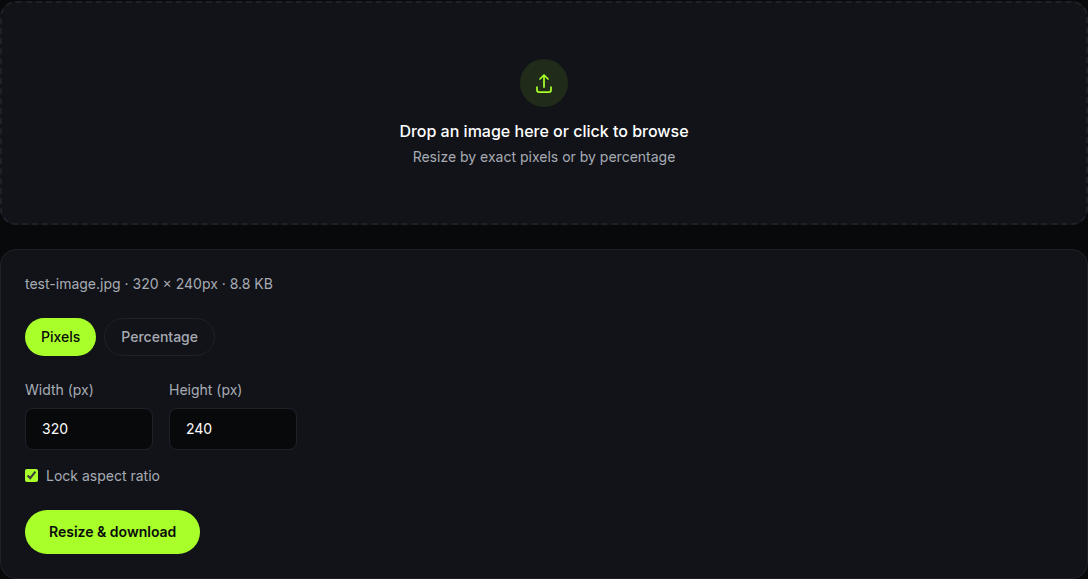
- Switch to the Percentage tab and drag the slider down. For a passport-style photo, dropping to 50-60% of the original size is usually plenty, since these photos rarely need to be more than a few hundred pixels wide anyway.
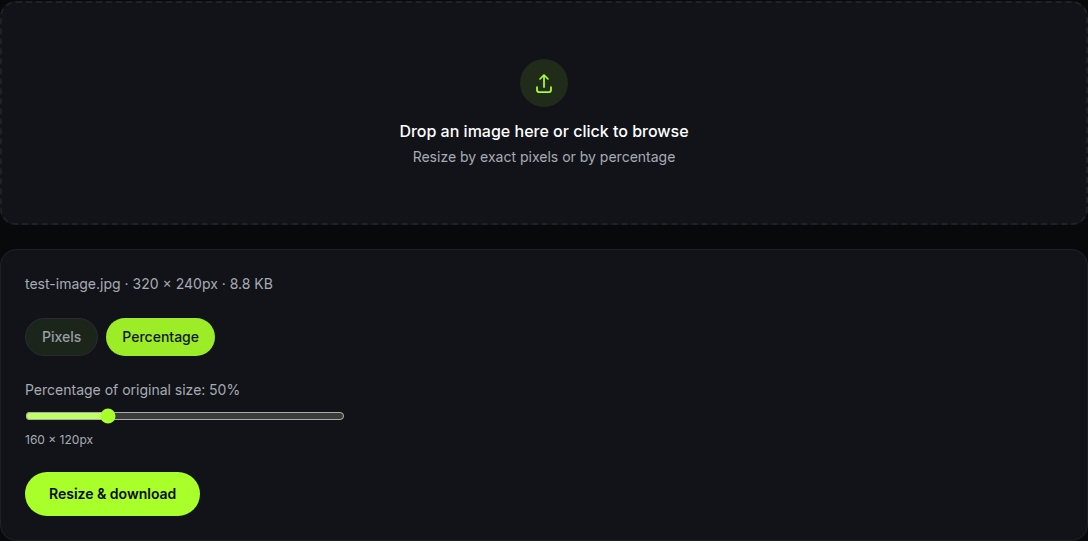
- Click Resize & download.
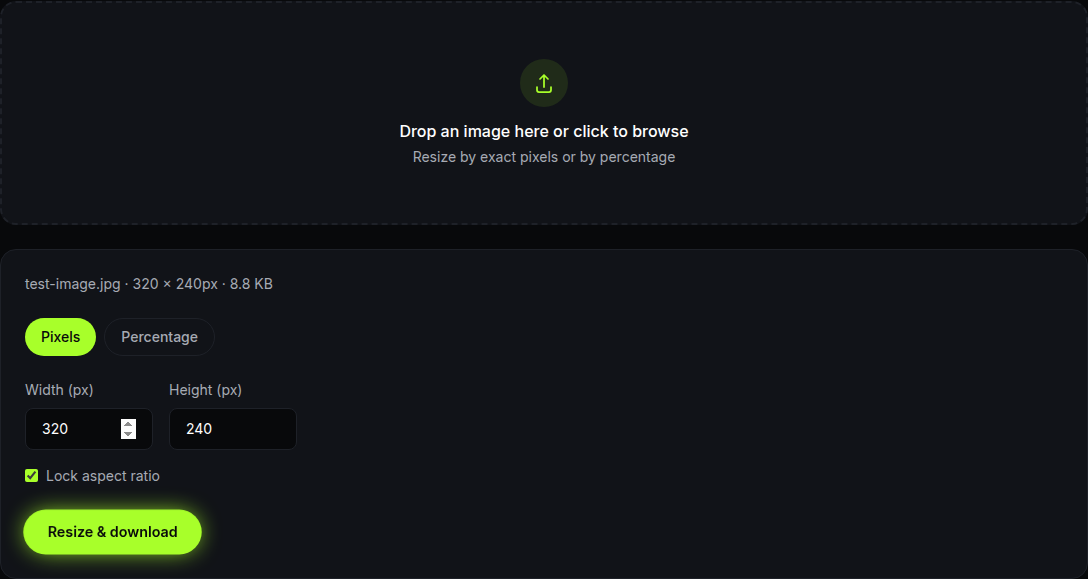
- Take that resized file straight into the Image Compressor and run the quality steps above. Fewer pixels means less data to compress, so you'll likely need a much smaller quality drop to hit the same KB target, and the result will look sharper than compressing the full-size original down that far would have.
Smaller pixel dimensions plus a moderate quality setting almost always beats a huge photo squeezed down to quality 5, which tends to produce visible blocky artifacts.
On a Mac, Using Preview
If you're on a Mac and don't want to leave the built-in apps, Preview can do this too, just with more trial and error since it doesn't show you a live size estimate while you drag.
- Open the photo in Preview.
- Go to File → Export.
- Set the format dropdown to JPEG.
- Drag the Quality slider and click Save.
- In Finder, select the saved file and press Cmd+I to check its size.
- If it's still too big, export again at a lower quality. If Preview's quality range alone won't get you low enough, use Tools → Adjust Size first to shrink the pixel dimensions, then export again.
On Windows
Windows doesn't ship a built-in tool with a quality slider the way Mac's Preview does, which is really the gap that dedicated compressors and web tools fill. The closest built-in option is resizing dimensions in Paint (open the file, Resize, drop the percentage, save), which reduces file size as a side effect but won't get you to a precise KB number on its own. For anything more exact than "somewhat smaller," a browser-based compressor like the ones above is genuinely the faster path on Windows, since it gives you both dimension and quality control with an immediate size readout.
Which Method Should You Actually Use?
For a one-off photo with a specific KB range to hit (a visa form, an exam upload), the Image Compressor's quality slider gets you there in a couple of tries and you can see exactly what you're trading away in sharpness. If the limit is unusually tight, run it through the Image Resizer first to cut the pixel dimensions down, then compress on top of that. If you'd genuinely rather not touch a slider at all, a dedicated target-KB tool will do the binary search for you, at the cost of a little less control over how the final photo actually looks.
Image Compressor
Shrink file size by quality, or to an exact KB target.