How to Turn Photos, Audio, or a PDF Into a Video Slideshow
Photos, a voice memo, or a PDF full of slides don't become a video on their own. Here's the fastest honest way to build one from each, without paying for anything.
You've got a folder of photos, a voice memo, or a PDF full of slides, and somewhere a form, a course platform, or YouTube itself is telling you it needs an actual video file. None of those three things become a video automatically, because a video isn't just "a file with images or sound in it." It's frames on a timeline, playing at a fixed rate, with an optional audio track underneath. Turning photos, audio, or a PDF into one means building that timeline, and it takes a lot less effort than it sounds like, especially since the tool to do it is probably already installed on your computer.
Turning Photos Into a Video Slideshow
If you've got a folder of images and want them to play as an actual slideshow video (with timing, transitions, and background music), don't reach for a random "image to video converter" site first. Both Windows and Mac ship with something built for exactly this, and it's faster than uploading dozens of photos to a browser tool.
On Windows: the Photos app hands off to Clipchamp
Windows retired the old "Photos legacy" video editor. Photo slideshows now get built in Clipchamp, which comes preinstalled on Windows 11 and is free with any Microsoft account.
- Open the Photos app and select the images you want in your slideshow (Ctrl+click to select multiple).
- Click Create a video in the toolbar. This opens your selected photos directly in the Clipchamp video editor with them already added to a new project.
- In Clipchamp, drag your photos into the order you want them on the timeline at the bottom.
- Click each photo clip and drag its edge to set how long it stays on screen, or select all of them and use the duration field to apply one timing to every slide.
- Open the Audio panel to add background music, either from Clipchamp's royalty-free library or a file of your own.
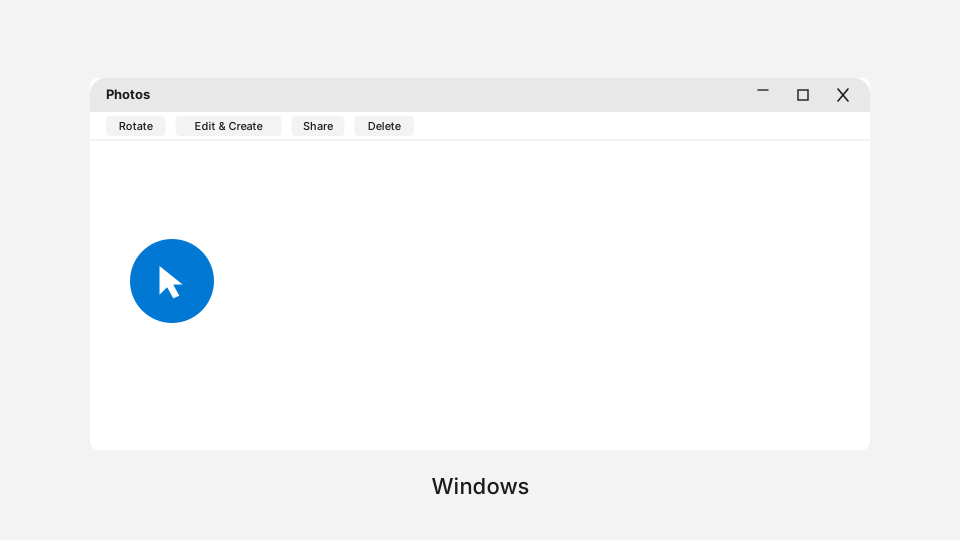
- Click Export, choose 1080p, and save the file.
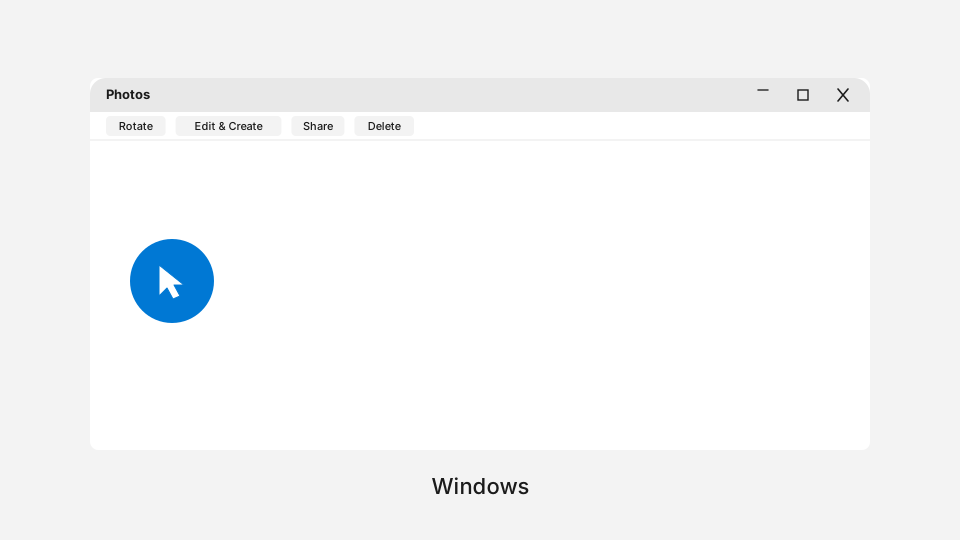
The catch is the sign-in. Clipchamp requires a Microsoft account to export, even the free personal one, though the export itself is genuinely unlimited, watermark-free, and capped at a solid 1080p on that free tier.
On a Mac: the Photos app does it without installing anything
- In the Photos app, select the photos you want (Cmd+click to multi-select).
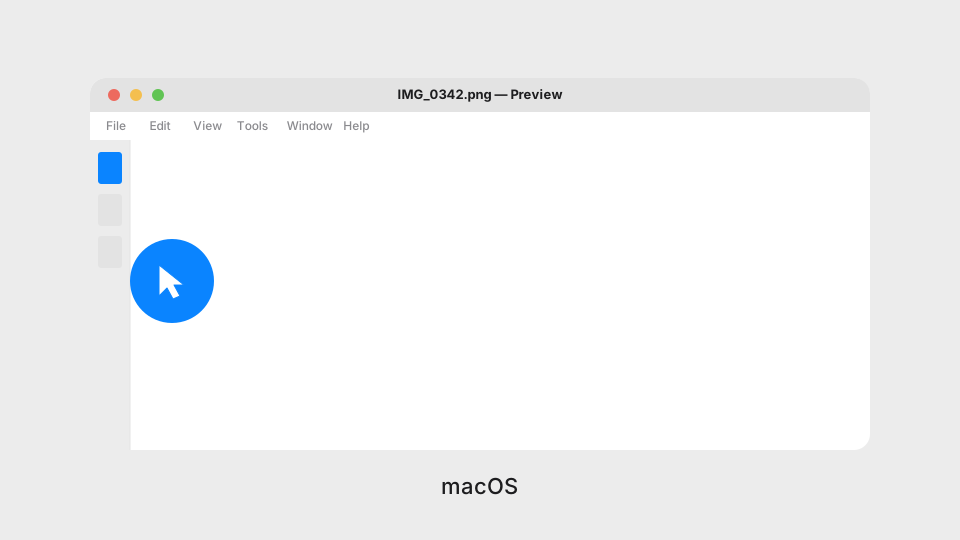
- Go to File > Create > Slideshow, name it, and click OK.
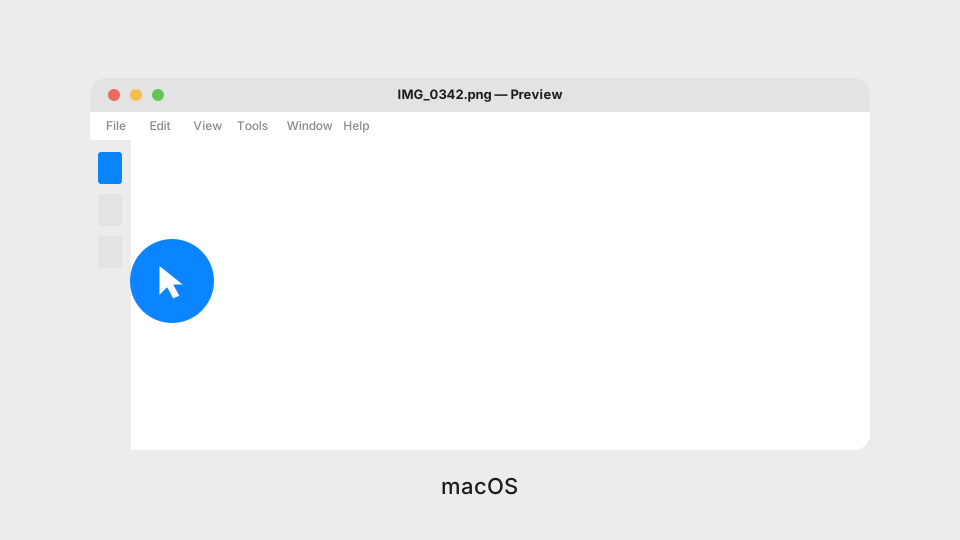
- Click the themes button to pick a transition style, and set the duration mode (fixed timing per slide, or "Fit to Music" so the whole thing matches a song's length).
- Click the music icon to add a track, either a built-in theme song or something from your own Music library.
- Once it looks right, go to File > Export Slideshow, pick a resolution up to 1080p, and save.
No sign-in, no watermark, nothing to install. The one real limitation is the music source: Photos only pulls from your Music library or its built-in theme songs, so a podcast clip or a voice memo you're using as background audio needs to be imported into Music first.
If you're not on Windows or a Mac
Browser-based slideshow makers work fine as a fallback, Kapwing is one of the more capable free ones. You don't need an account to start building or to export once, but Kapwing's free tier caps exports at 4 minutes and 720p, adds a watermark, and deletes unsaved projects after 3 days unless you sign in. Fine for a one-off, worth knowing about before you spend twenty minutes building something you can't get back.
Turning Audio Into a Video (So YouTube Will Actually Accept It)
YouTube, and most platforms that call themselves "video" platforms, only accept files with an actual video stream in them. Upload an MP3 or WAV on its own and it gets rejected outright, because there's no video track for the platform to attach a player to. The fix isn't a special "audio to video converter," it's just pairing your audio with a single static image and exporting that pairing as a video, which any basic video editor already does.
On Windows: Clipchamp again
- Open clipchamp.com (or the Clipchamp app) and start a new project.
- Import your cover image and your audio file, then drag the image onto the main video track.
- Drag the audio file onto the audio track below it.
- Drag the right edge of the image clip until it matches the full length of the audio track underneath it.
- Export at 1080p as before.
On a Mac: iMovie
The Photos app's slideshow tool technically works for this too, but it means importing your audio into the Music app first just to use it as a "theme song," which is more friction than it's worth for a one-off. iMovie takes any audio file directly.
- Open iMovie, start a new project, and choose Movie.
- Drag your image onto the main timeline.
- Drag your audio file onto the timeline below the image clip. iMovie adds it as a separate audio track automatically.
- Drag the right edge of the image clip out until it covers the entire audio clip underneath.
- Click the Share icon, choose File, pick a resolution, and export.
There are also dedicated "audio to video" web tools built specifically for this, Canva's and a few others generate an animated waveform behind your audio automatically instead of a static image, which looks a bit more polished for a podcast clip or a song upload. Most require a free account and some cap video length on the free tier, so a plain static image in Clipchamp or iMovie is still the faster route if you just need something that uploads without getting rejected.
Turning a PDF Into a Video Slideshow
A PDF is a document, not a sequence of video frames, so getting it into video form is really a two-step job: turn each page into an image, then run those images through the same slideshow process covered above.
Step 1: Turn your PDF pages into images
AI Convertly's own PDF to JPG tool does exactly this part, entirely in your browser, with no file size limit or page cap tied to an account.
- Open the PDF to JPG tool and drop in your PDF.
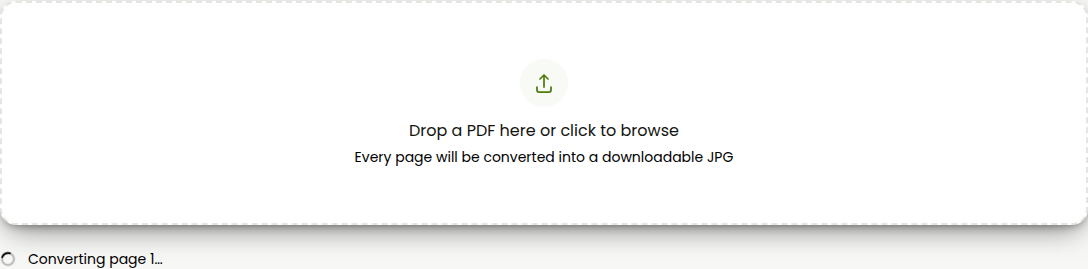
- It converts every page to its own JPG automatically.
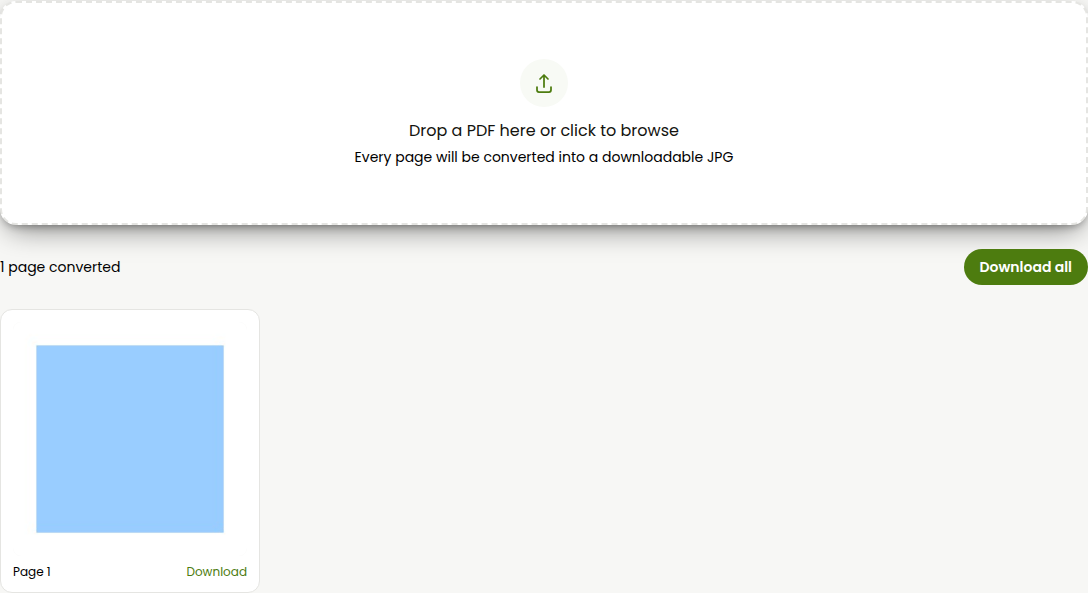
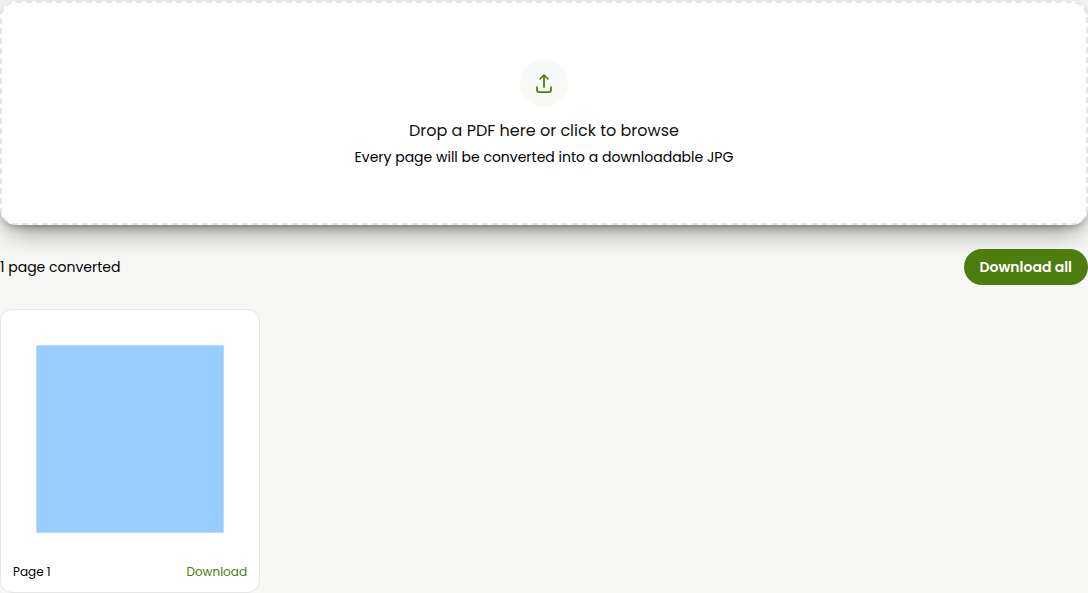
- Download the images, either individually or as a batch.
Step 2: Turn those page images into a video
Now you've got a folder of images, which is exactly where the first section of this article started. Feed them into the Windows Photos-to-Clipchamp flow or the Mac Photos slideshow the same way, set a consistent duration per slide (2 to 4 seconds usually reads comfortably for a slide with text on it), add narration or music if you want it, and export.
A note on "PDF to video" AI tools
Search around and you'll find tools like Synthesia, NoteGPT, and Vidocu marketed specifically as PDF to video converters. Worth knowing what they actually are before you sign up for one: they're built to read the text out of your PDF and generate an AI voiceover, sometimes an AI avatar, over auto-selected visuals, essentially turning a document into an explainer video. That's a genuinely different product from what most people searching "pdf to video" actually want, which is just their existing slides playing back as a video. The AI narration tools are useful if you specifically want that, but they typically cap free output at a few minutes and add a watermark past that, so if your PDF is a slide deck or a scanned set of pages you already like the look of, converting to images and building a plain slideshow is the more direct route, and it's free with no cap either way.